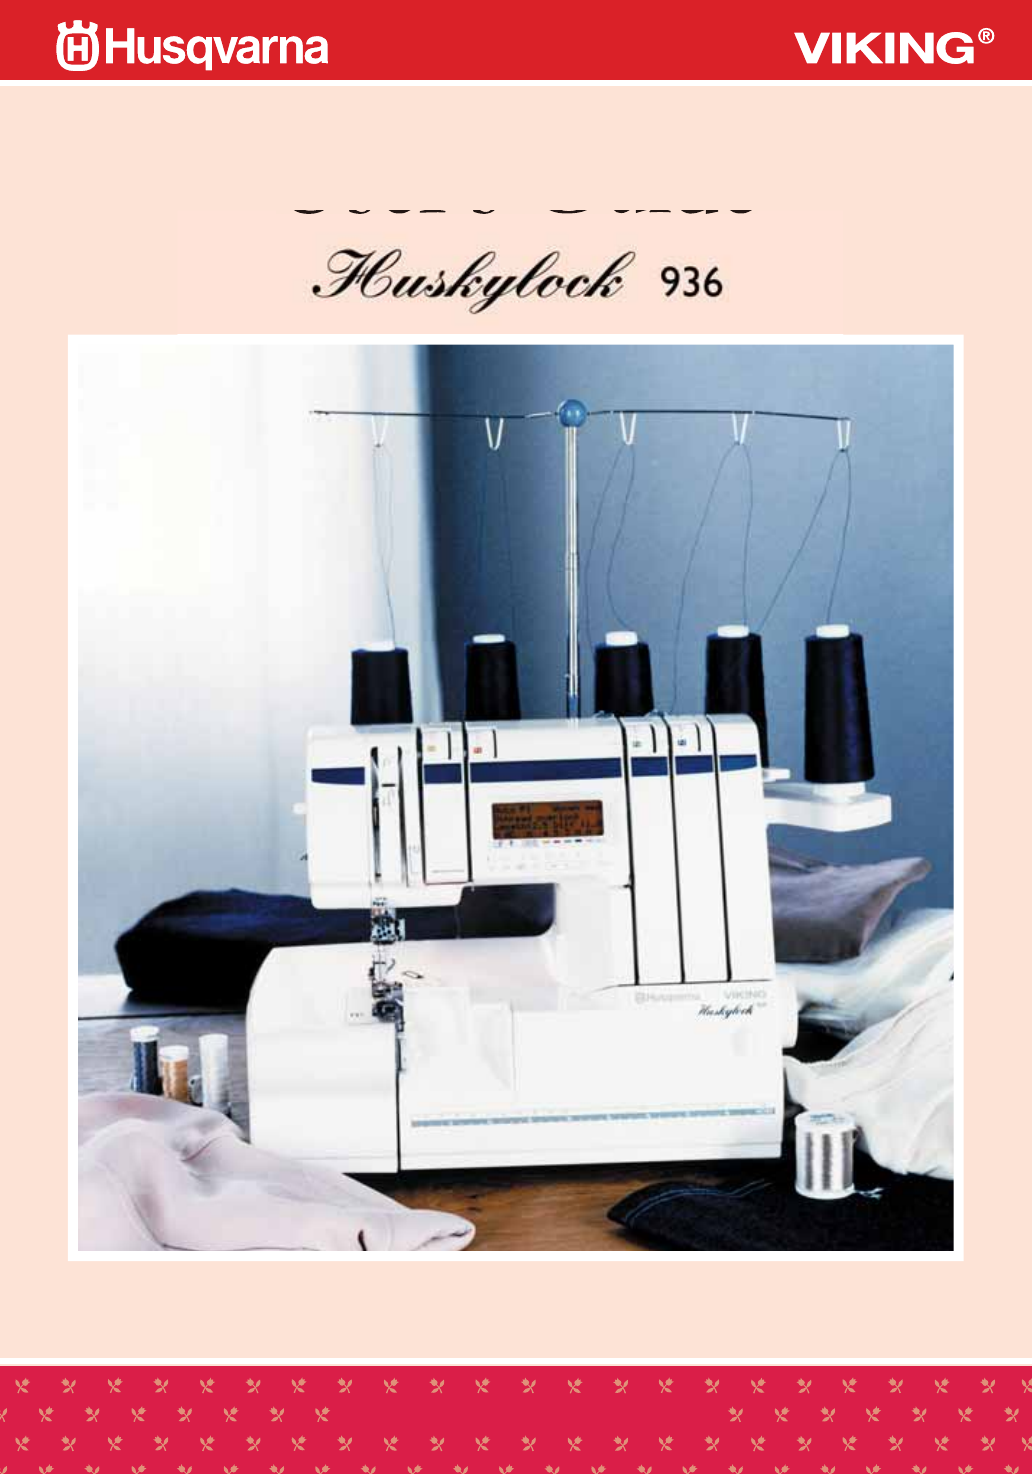
Viking Huskylock 936 User's Guide
Browse online or download User's Guide for Sewing machines Viking Huskylock 936. Viking Huskylock 936 User`s guide User Manual
- Page / 78
- Table of contents
- BOOKMARKS
- User's Guide 1
- Table of contents 3
- 123456 7 5
- 8 1011 1213141516 17 5
- Needles (SCHMETZ 130/705H) 6
- Cutter cover 7
- ➀ and slide it in 8
- Indicato 9
- 2-8. Table of fabric type 19
- 2-9. Error messages 19
- ➀ of the 20
- ➈ of the upper looper 20
- Spun thread Decorative thread 21
- Wrong side 24
- Right side 24
- ➂ and ④ 25
- Right needle 33
- Left needle 33
- ➁ of the upper looper 35
- ➀ out of the eye 35
- Right side of fabric 39
- Adjusting screw 39
- Material guide 39
- The side of 40
- Tuck edge 40
- Thread guide E 41
- Front cover 44
- Cutting width 45
- Triple cover stitch 50
- ➀ (➁ , ➂), or 51
- ➁ and ➂ 52
- Lower cutter 54
- Lowest position 54
- Upper cutter 54
- Set screw 54
- 6. STITCH TABLE 55
- 8. TROUBLE SHOOTING 60
- ➀ between needle 62
- ➁ with right side down 62
- ➂ and fl ush with 62
- Tension Control Screw 63
- 1.5~2.0mm 66
- Cording and 67
- Piping Foot 67
- Tape Guide 68
- Bias Tape 68
- Folding Foot 68
- Fabric Guide 69
- Binding Foot 70
- Waste tray 71
- 11. NOTE 72
- Memory No 72
- Date Note 72
- 12. INDEX 76
- Intellectual property 77
Summary of Contents
KEEPING THE WORLD SEWING™User's Guide
—6—1-6. Replacing the needleTurn the main power switch off.1. Turn the handwheel toward you (counterclockwise) by hand until the needle is in its h
—7—Cut the threadTie the threadPresserfoot liftPresser footEye of the needle1-7. Changing threadsThe machine comes threaded with overlock thread. To c
—8—Stitch fi nger leverPresser footNeedle platePresser foot liftFront cover1-8. Stitch fi nger lever(Convert from overlock stitch to rolled edge)Raise t
2. SEWING ADVISOR DISPLAY GUIDE2-1. Selection buttonsThe buttons below can either be pressed one step at a time or held until the desired setting is o
2-2. Sewing Advisor display functionMode and stitch number :Mode and pre-set stitch are displayed.Memory number :In Memory Mode, stored memory number
2-3. Choice of languageYou can select the following languages :American English, British English, French, Italian, German, Swedish, Norwegian, Danish,
(2) Selection of fabricSelect the fabric type with the fabric selection button . The recommended setting then appears on the Sewing Advisor.Th
Example: Press plus button twice and memory number 03, which is empty, will be displayed.2-6. Memory ModeAfter making new settings in Manual
(2) Retrieve from memoryWhen turning the machine on, the recommended standard settings are displayed.Press memory button . Now “ Memory” a
—15—2-7. Stitch tableThe following 16 stitches are programmed in the Husqvarna Viking® Huskylock 936Stitch4-thread overlock3-thread wide overlock3-thr
Please note that on disposal, this product must be safely recycled in accordance with relevant National legislation relating to electrical/electronic
123456789DABCDNDN—16—Thread the machine in the following order:Upper looper ( A )Lower looper ( B )Needles ( C,D )3-1. Upper looper threading ( A )1.
aDNDNDABC12345678910—17—3-2. Lower looper threading ( B )1. Raise the presser foot.2. Open front cover.3. Pull thread from spool through guide ➀ of th
7. Pull the thread through the needle eye ➆, with tweezers leaving about 10 cm (4”) of thread tail.3-3. Needle threading ( C ) ( D )1. Raise the press
—19—3-4. Preparations and controlCheck that thread has not slipped off the guides nor has broken. Make sure the upper cutter moves correctly against t
23 41—20—Lower looper threadUpper looper threadLeft needle threadRight needle threadWrong sideRight sideLower looper threadWrong sideRight sideUpper l
23 4123 4123 41—21—Lower looper threadWrong sideRight sideUpper looper threadLeft needle threadRight needle threadLower looper threadWrong sideRight s
—22—3-8. Adjusting the stitch width / cutting widthThe distance between the needle and the outer edge of the fabric is called stitch width / cutting w
Model 936 features automatic Stitch length and Differential feed. You can override the automatic settings as follows:3-9. Stitch lengthNormal stitch l
—24—First sew a few test stitches on a piece of fabric you are going to use, referring to the chart below.Stitch length DiffSpeed0.8-44.5-5Stretchmate
—25—Presserfoot lift4. SEWING4-1. Four thread overlock stitch with 2 needlesBefore sewingOnce you have fi nished threading, place the four threads unde
Table of contents1. SUMMARY ...11 - 1. Name of parts ...
—26—Chain offWhen you reach the end of fabric, chain off for several inches.Note: Do not pull the threads out roughly, be-cause the needle might bend
—27—Cording thread / Decorative threadCording thread / decorative thread can be used to strengthen and stabilize stitches when seam-ing stretch fabric
—28—Serging curvesFor inside curves, guide the fabric lightly and place the fabric under the right front of the presser foot. Applying pressure to the
—29—4-2. Three thread overlockTo sew three thread overlock, simply remove one needle.1. Remove the right needle for wide three threadUse dial ➀ for th
23 41a—30—Wrong sideRight sideWrong sideRight side3-thread stitchCorrect tensionThe needle thread lies fl at and straight, to the left, and locks with
—31—2-thread converter4-3. Two thread overlock1. Open the front cover.2. Use one needle thread (left or right needle) and lower looper thread.3. Turn
12345673N512301212345673N5123012—32—Set tension according to the table above. Since the fi gures in the table are average, it may be necessar
—33—4-5. Rolled edgeThree thread rolled edgeThe two edges described above are suitable for light weight fabrics.3-thread narrow edgeThe fabric is roll
—34—Table for three thread rolled edge and narrow edgeRolled edgeNarrow edgeThread tensionAdjust thread tension according to type of fabric and thread
—35—A.B.C.Right side of fabricAdjusting screwMaterial guide4-6. FlatlockThere are two ways to sew a fl atlock stitch, with wrong sides folded together
4. SEWING ...254 - 1. Four thread overlock stitch with
—36—The side ofthe needlesplate.Tuck edge4-7. Pin tuckPin tucks are stitched along a folded edge. To avoid cutting the fabric, use the multipurpose fo
4-8. Five thread over lock stitch and Double chain stitchDouble chain stitch looper threading (E)1. Raise the presser foot.2. Open front cover.3. Pull
—38—5-thread overlock Double chain stitchCD AB12567843EDABCD ABEDAB
#80#90#90#80#90145N5a—39—Double chain stitch5-thread overlock stitchWrong sideRight sideWrong sideRight sideWrong sideRight sideChainstitchCorrect ten
—40—3214-9. Cover stitchSet up for Cover stitch and ChainstitchWhen sewing cover stitches or double chain stitches, change the following parts:1. Cutt
—41—45,67810119ScrewCutting widthadjust dial4. Remove the rear needle(s) from the needle clamp. 7. Turn the cutting width dial to 7.Note: If it is not
—42—54312To change from Cover or Double chain stitch sewing to standard sewing, reverse the order of set up for Cover stitches. However, always remove
—43—781113147. Remove the needle plate ( C ).8. Put on the standard needle plate ( S ).9. Raise the cutter.10. Replace the needles according to des
Cover stitch looper threading (B)1. Raise the presser foot.2. Open front cover.3. Pull thread from spool through guide ➀ of the thread stand and then
—45—Cover stitch wide Cover stitch narrowCD ABCD ABEDABEDAB
—1—1. SUMMARY1-1. Name of parts1. Presser foot pressure adjustment dial2. Spool pin3. Thread take-up lever cover4. Thread guides5. Telescopic threa
—46—Triple cover stitchCD ABEDAB
—47—Triple coverstitchCorrect tensionThe picture shows the correct tension of 3 needle threads and chainstitch looper thread.When needle thread is too
12345N756756723N12345N756756723N—48—Wrong sideRight sideWrong sideRight sideWrong sideRight sideCover stitch wide and Cover stitch narrow.The picture
—49—32,41,55. MAINTENANCE5-1. Changing the light bulbWarning: Let the light bulb cool down before replacing it to avoid burning your fi ngers.Note: The
1~2mm—50—Lower cutterLowest positionUpper cutterSet screw5-2. Cleaning after sewing Unplug the machine.1. Open the front cover (page 3) and free arm c
—51—6. STITCH TABLECombination Thread tensionSewing Program MaterialStitchLengthStitchFingerCuttingWidthNeedlePos.NeedlePlatePresserFootDiffFeedUpperK
—52—Combination Thread tensionSewing Program MaterialStitchLengthStitchFingerCuttingWidthNeedlePos.NeedlePlatePresserFootDiffFeedUpperKnifePos.Cutting
—53—Combination Thread tensionSewing Program MaterialStitchLengthStitchFingerCuttingWidthNeedlePos.NeedlePlatePresserFootDiffFeedUpperKnifePos.Cutting
—54—Combination Thread tensionSewing Program MaterialStitchLengthStitchFingerCuttingWidthNeedlePos.NeedlePlatePresserFootDiffFeedUpperKnifePos.Cutting
—55—7. TABLE OF SEWING MATERIALS, NEEDLES AND THREADSUse ball point needles for stretch fabrics.Thin materials(crepe, georgette)Thick materials(thick
#80#90—2—1-2. AccessoriesScrew driverAllen wrench (1.5mm)OilerTweezersSpool holderLight bulb changer Presser foot (C)for Cover stitchNeedle plate (C)f
—56—8. TROUBLE SHOOTINGUnder normal conditions, if you carefully follow instruction for operating, no diffi cult or special ad-justment is necessary fo
—57—9. SPECIFICATIONS5 Threads (4.3.2 Threads)3 Needles (2 Needles, 1 Needle)Standard SCHMETZ 130/705H No.80-90 2 mm (6 mm : Triple an
2134—58—Fabric guidePearl guide10. OPTIONAL ACCESSORIES10-1. Presser feet-optional accessoriesAccessory feet and waste tray available. See your local
—59—FabricElasticElastic foot (Option)(Part number : 2141002-407)(Part number, for USA only : 141 000595)This foot guides your elastic and stretches t
—60—Wrong sideRight sideWrong sideRight sidePiping Foot (Option)(Part number : 2141002-408 [Large] 2141012-408 [Small])(Part n
—61—Clear Foot (Option)(Part number : 2154002-701)(Part number, for USA only : 411 000098)Clear foot is optionally designed for cover stitch.It can be
1.5~2.0mm5cm—62—Finish ShirringDCBStitch selectionEACording and Piping (Cording) (Option)(Included in optional Huskylock 936 Cover Stitch Kit, Part nu
5cm1.5~2.0mm750—63—FinishShirringDCBStitch selectionEACording and Piping (Piping) (Option)(Included in optional Huskylock 936 Cover Stitch Kit, Part n
23~25mm5cm11—64—Finish Belt loopDCBStitch selectionEABias Tape Binding Foot (Option)(Included in optional Huskylock 936 Cover Stitch Kit, Part number:
—65—FinishDCBStitch selectionAHemming Foot (Option)(Included in optional Huskylock 936 Cover Stitch Kit, Part number: 412 6716-01)Hemming Foot1. Press
—3—AttachRemoveFront coverCutter coverABChange the presser foot Turn the main power switch off. (See page 4) 1. Raise presser foot.2. Raise needle
—66—FinishDCBStitch selectionABias Tape Binding Foot (Option)(Included in optional Huskylock 936 Cover Stitch Kit, Part number: 412 6716-01)Bias Tape
—67—Ta bl eWaste tray10-2. Waste tray 1. Place waste tray at the edge of table so the net bag hangs tray as shown.2. Set Huskylock onto waste tray as
—68—11. NOTEMemory No.Date Note
—69—Memory No.Date Note
—70—Memory No.Date Note
—71—Memory No.Date Note
—72—12. INDEXAccessories 2 Optional ... 58~66Accessory Box ... 4Automatic M
We reserve the right to change the machine equipment and the ass ort ment of accessories without prior notice, or make modifi cations to the performan
VSM Group AB • SE-561 84 Huskvarna, Swedenwww.husqvarnaviking.com412 85 76-26B • © 2004 -2008 VSM Group AB • All rights reserved • Printed in Taiwan
—4—2121ONOFFAccessory boxLift the accessory box slightly ➀ and slide it in the direction of the arrow ➁.The accessory box consists of two parts. It ho
—5—1-4. Sewing speedThe harder you press the foot control, the faster the machine will sew. You can choose between three sewing speeds, (slow, medium,
Related products and manuals for Sewing machines Viking Huskylock 936
 (60 pages)
 (48 pages)
 (52 pages)
(64 pages)
(52 pages)
(64 pages)
© 2020, manymanuals.com. All rights reserved. | 0.102 s |
 Manymanuals.com
 Manymanuals.de
 Manymanuals.fr
 Manymanuals.it
 Manymanuals.pl
 Manymanuals.cz
 Manymanuals.es
 Manymanuals-pt.com
Comments to this Manuals